
Warehouse Setup |
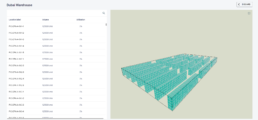
3D map of your warehouse helps you to visualize your warehouse. But for now let’s start with how you can create your warehouse inside the system.
https://app.storfox.com/warehouse/warehouse/list
In this link you can go the list of your added warehouse.
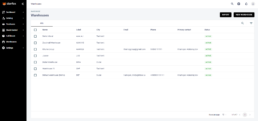
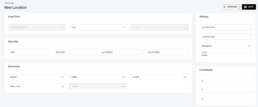
To create a new warehouse, click the button “NEW WAREHOUSE”
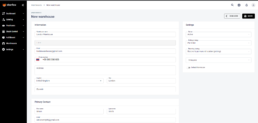
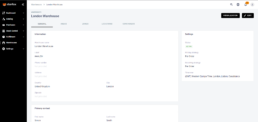
In the information section, all general information will be added. Primary Contact belongs to someone in that warehouse responsible for all operations inside it.
Settings
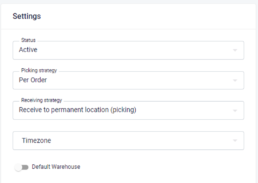
You can chance the status of the warehouse into either Active or Inactive
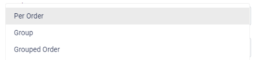
Picking strategy. We have 3 types of strategies for picking depending on the workflow that exact warehouse have. When you select multiple Sale orders and click the button “PROCESS”. Depending on the picking strategy, picklists tasks will be created accordingly.
Per Order: One order has one picklist task
Group:
Grouped order:
Receiving strategy:
Storfox supports 2 types of receiving strategies:
Receive to temp location (receiving)
Receive to permanent location (putaway)
If you select this warehouse as a default warehouse, any time you create any Purchase order that warehouse will be chosen to ship the ordered items into.
Once you fill all required fields, click the button “SAVE”.
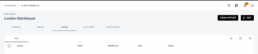
Once you add general information, it is time to structure your warehouse by creating zones and areas.
Areas
You will be required to put a label and a name in required fields when you add a new area:
Zones
Inside areas, warehouses have zones; and you will be asked to choose which area you want to create zones
Locations
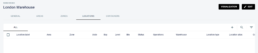
Warehouse >> Area >> Zone >> Location (Bin)
Example for location: AAA-AB-00A-001-001-001
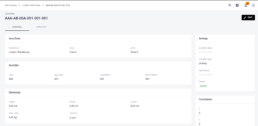
Coordinates are required when you want to create 3D map of your warehouse.
If you support another location label in your system you can use it as Location alias.
You can choose different types for locations depending what functions they do:
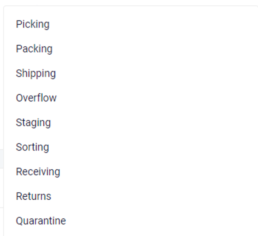
The most commonly used one is Picking type of location.